Alright, party people! Grab your Cricut (and maybe a cocktail), because we’re about to get infused. Today we’re tackling Cricut Infusible Ink, aka the unicorn of the crafting world. It’s all about making your creations pop, stay put, and look professionally polished—even if you’ve had a few glasses of wine while cutting. Spoiler alert: no fancy sublimation printer needed, just a little heat, some imagination, and a steady hand (which I can’t always guarantee).
Ready for some Cricut Infusible Ink ideas that will make you question why you ever wasted your time on those peeling HTV projects? Oh, and I’m not just giving you ideas—I’ll also hold your hand through how to use Infusible Ink so you get it right every single time, no tears or tantrums. Let’s get into it!
Cricut Infusible Ink: WTF Is It, Anyway?
Okay, for those of you wondering what the heck this magical Infusible Ink stuff is, think of it like sublimation’s cool, less complicated cousin. Instead of having vinyl sitting on top of your project, Infusible Ink actually bonds to the fibers—yep, they’re getting permanent. We're talking “there for life” level. Imagine a design that won’t peel off no matter how much you wash, stretch, or abuse it. Like a tattoo, but way less painful and no regrets after tequila shots.
The magic happens best on polyester fabrics or Cricut’s special blanks. Yes, you need to give up on cotton (I know, I know) and accept that polyester is where the real magic happens. The results are bright, bold, and ready to impress your friends (or at least the cashier at the grocery store).
How to Use Cricut Infusible Ink Without Losing Your Mind
Now, let’s break down how to actually use this stuff. If you’re a Cricut newbie, don’t worry—I've got you. If you’re a veteran, well, here’s your refresher while you sip that wine.
What You Need for an Infusible Ink Bender:
- Cricut Infusible Ink Transfer Sheets or Markers – The stars of the show.
- Cricut Machine – Whether it’s a Maker, Explore, or even the baby Joy.
- Cricut EasyPress 2 – Heat is key, and your household iron isn’t gonna cut it. Trust me.
- Cricut Blanks – Get the official ones for best results—T-shirts, totes, mugs, coasters. These things are made to be infused, not just tolerated.
- Lint Roller – Because nothing says ruined design quite like dust particles.
- Butcher Paper – Protect your projects. It’s in the box for a reason.
- Cardstock and Heat Resistant Tape – Optional, but helpful for keeping everything in place and avoiding sad mistakes.
Step 1: Pick and Prep Your Design
Bust open Cricut Design Space and pick your design. Use one from Cricut Access or upload your own artsy fartsy SVG file. When it’s Infusible Ink time, always remember to mirror your design. Seriously, unless you want your text to look like it came out of a magic mirror, just mirror it, alright?
Step 2: Cut and Weed (Gently)
Stick your Infusible Ink Transfer Sheet onto a StandardGrip mat, color side up. Let your Cricut do its precision cutting thing. And when it’s done, weed away the excess. The good news? You can do this part without any tools! The sheets are more like stiff paper, not the sticky gooey vinyl we’re used to. But still, careful there, tiger—you don’t want to rip a critical bit because you’re impatient.
Step 3: Prep Your Blank Like It’s a VIP
Lay out that blank (shirt, tote, whatever you’ve got) and give it a good lint roll. Because those little particles WILL mess up your print, and trust me, nothing ruins the crafting high faster than a bunch of weird spots ruining your otherwise perfect design. Preheat the blank for 10-15 seconds to get rid of any moisture hiding in there.
P.S. – Polyester is bae. The higher the polyester count, the more vibrant your masterpiece.
Step 4: Press Like You Mean It
Lay your design on your blank, put some butcher paper on top (safety first), and fire up that Cricut EasyPress 2. Set it to 385°F and hold it down for 40 seconds—steady, even pressure, and no sliding. I repeat, NO SLIDING. We don’t need to smear this beauty. Just press and stay put until the timer’s done.
Step 5: Peel and Reveal
Let it cool for a second, then peel back that transfer. Boom! Permanent design, no cracking, no peeling, no mess. It’s like magic—but better, because you made it.
Cricut Infusible Ink Ideas: 6 Projects to Get You Buzzin’
Now that you’ve got the know-how, let’s talk about what to make! Here are Cricut Infusible Ink ideas that’ll make everyone think you’ve gone pro.
1. Personalized T-Shirts
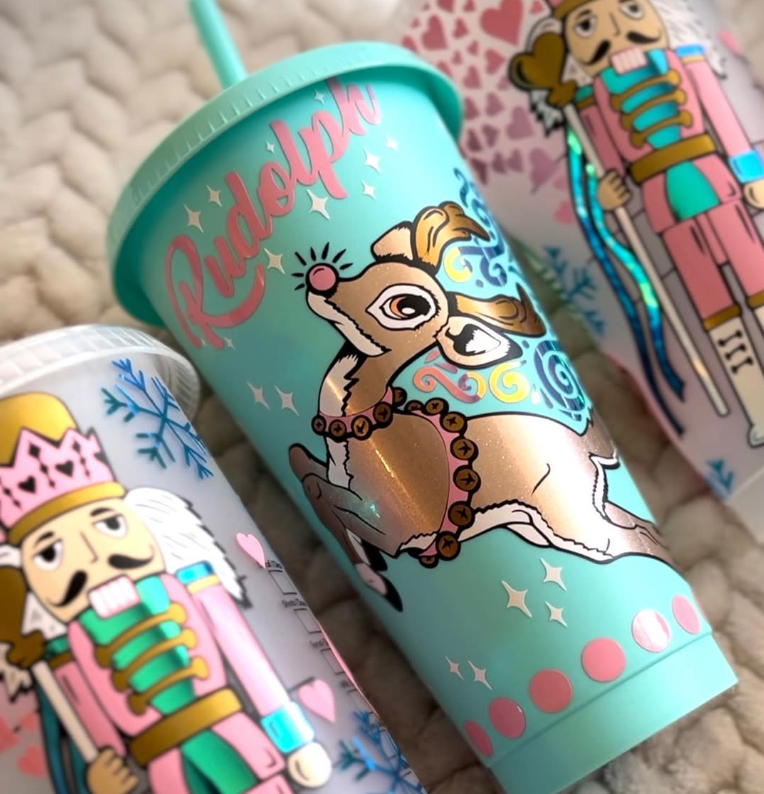
This one’s obvious but worth it. Got a sassy phrase you’re dying to wear? A cute graphic? Your cat’s face? Make that custom T-shirt and let it speak for itself. Infusible Ink is perfect for making custom T-shirts that can actually survive the wash, unlike that sketchy vinyl shirt that’s peeling after three trips to the laundromat.
2. Custom Mugs
Cricut’s Mug Press + Infusible Ink = mug magic. Think quirky quotes, cool designs, or an inside joke that’ll make your friends snort-laugh at coffee time. Plus, they’re dishwasher safe. Because, let’s face it, no one wants to hand wash coffee mugs.
3. Funny Coasters
Coasters are tiny, but they can pack a punch. You could make them classy, you could make them rude, you could even make them motivational—depends on how you’re feeling. The ceramic coasters hold Infusible Ink beautifully, and they’re perfect for gifting. Just picture Grandma sipping her tea on top of a coaster that says, “Don’t spill it, Karen.”
4. Cute Tote Bags
Tote bags are your perfect blank canvas for a snarky quote or a cute pattern. And let’s be real—polyester tote bags are just an excuse to carry your craft supplies from one corner to another, while flexing your design skills in public.
SEO Alert: Tote bag crafts with Cricut Infusible Ink, baby!
5. Kids’ Masterpieces on Shirts
Have a mini Picasso in your life? Use Infusible Ink markers to trace or doodle their artwork on laser printer paper, then press it onto a shirt or a bag. Your kid’s face when they see their own doodles immortalized is priceless. Bonus: Aunt Linda will cry happy tears at her birthday party, and who doesn’t love a good family drama?
6. Custom Pillow Covers
Feeling decorative? Add some pillow covers into the mix. They’re a super fun way to decorate your space for the season. One day you’ve got summer vibes, the next you’re cozying up with spooky Halloween cushions. Infusible Ink means the colors stay bold, and these pillows can take all the couch lounging you can throw at them.
Hot Tips for Using Cricut Infusible Ink Without Screaming
- Mirror Your Design: This again. Just do it.
- Butcher Paper Saves Lives: Don’t mess around with rogue ink. Use the butcher paper to keep things clean.
- Polyester or Bust: If you use cotton, the design will look sad. No one wants sad crafts.
That’s a Wrap: Get Crafty, Get Infused
So there you have it! The Cricut Infusible Ink guide that’ll get you crafting like a boss—because who has time for peeling vinyl and half-baked projects? Infusible Ink lets you do it all: mugs, coasters, shirts, totes, and even gifts that people actually want to keep. Your projects will look polished, professional, and they’ll definitely survive a few rounds with your washing machine (because life happens).
So get out there, grab your Cricut, some Infusible Ink, and make the colorful, permanent magic happen. And if halfway through you realize you’ve got more tape stuck to yourself than the project, just roll with it. Stay crafty, stay cool, and always remember—if all else fails, pour another glass and press on. Cheers, craft pals!
Interested in learning more? Check out my article on my personal top 10 favorite Cricut Products.