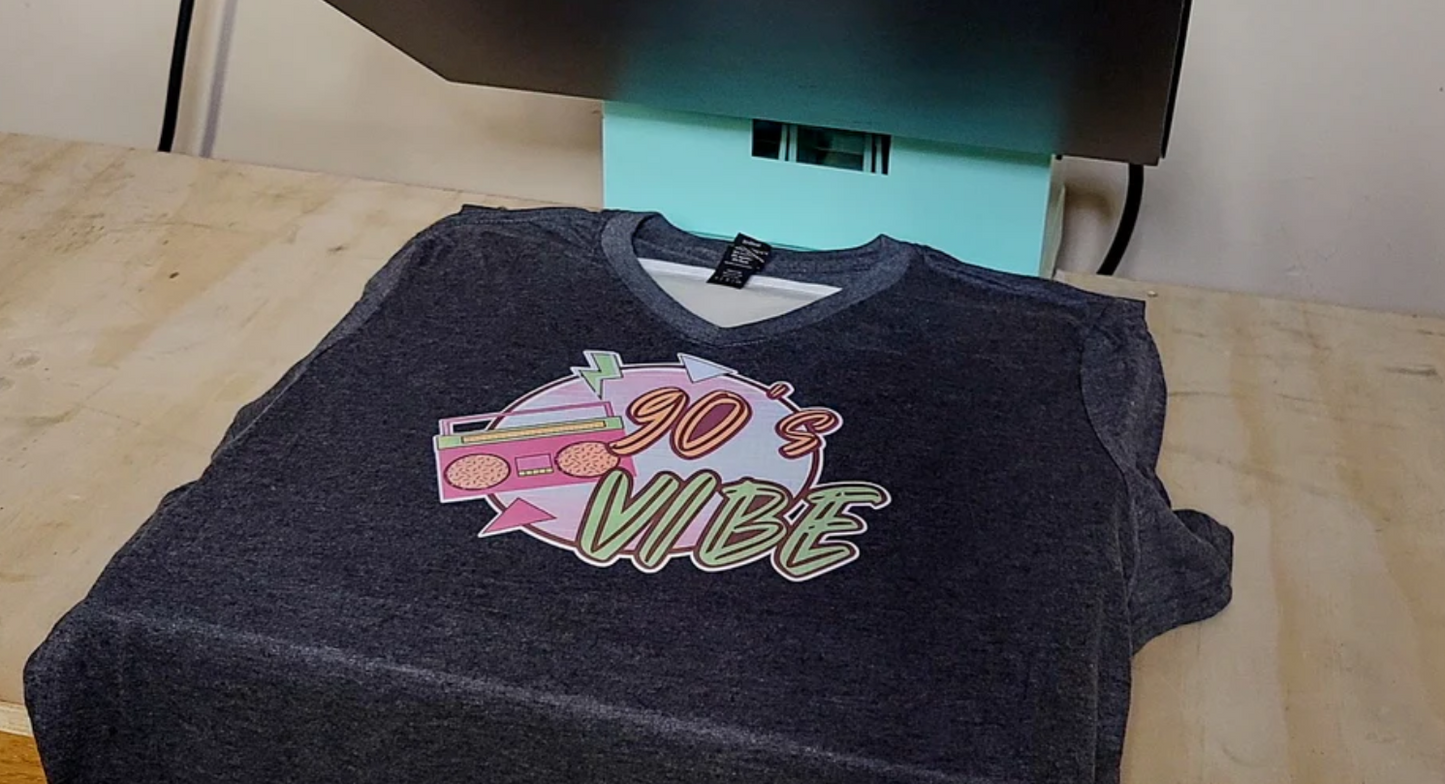
Ready to dive into the fun world of sublimation and learn how to get your designs on shirts like a pro? Whether you’re an experienced DIY-er or just dipping your toes into sublimation printing, this guide will walk you through how to sublimate a design on a shirt with step-by-step instructions (and, of course, a little humor to keep things fun). Let’s do this!
What You Need for Sublimating a Shirt (Plus Coffee, Obviously)
Before you start, here’s the list of essentials you need for sublimation transfers on shirts:
-
Sublimation Printer: A regular inkjet printer won’t do the job here. You need a sublimation printer designed to use sublimation ink. If you haven’t invested yet, time to add it to your cart!
-
Sublimation Ink: This is the star of the show. Regular ink? Nope. Sublimation ink? Yes, please! It’s what makes the magic happen.
-
Sublimation Paper: You’ll print your design on this special paper. It’s designed specifically for transferring vibrant prints onto your shirt.
-
Heat Press Machine: A basic iron isn’t going to cut it here, folks. A heat press is a must for sublimating designs because it provides the right temperature and pressure for the transfer to stick perfectly. I highly recommend Cricut's Easy Press, it makes everything literally so simple. You can check it out here.
-
Polyester Shirt: Sublimation printing only works on shirts that are at least 65% polyester, but the closer to 100%, the better. Trust me, that cotton shirt won’t work.
-
Heat Tape (Optional): To prevent the design from shifting during the pressing process (which you want to avoid), grab some heat-resistant tape.
-
Butcher Paper or Teflon Sheet: Protect your shirt and your heat press by placing this on top of the design during the transfer.
Step 1: Print Your Sublimation Design
First things first, print your design on sublimation paper using your sublimation printer with sublimation ink. But here’s a pro tip—always mirror your design before printing it. This is especially important for text. Otherwise, you’ll end up with a backward quote on your shirt, and unless that’s your thing, it’s not the look you want.
Set your printer settings to the highest quality and make sure you select the correct paper type. Once printed, let the ink dry for a minute or two—don’t rush it.
Step 2: Prepping the Shirt for Sublimation
Lay your polyester shirt flat on the heat press, and if it’s a bit wrinkled, press it for a few seconds to smooth things out. No one wants wrinkles messing up their design.
Now, position your sublimation design face down exactly where you want it on the shirt. If you’re nervous about it moving during the process (we’ve all been there), secure it with heat tape. Straight designs = happy shirts.
Step 3: Time to Heat Press
Fire up your heat press machine and set it to 400°F (204°C). The key here is to use a combination of heat, pressure, and time to get that design transferred properly. You’re going to want to press the design for around 45 to 60 seconds with medium to firm pressure.
Before slamming the press down, cover your design with a sheet of butcher paper or a Teflon sheet to keep things neat and tidy.
Now, press down! Don’t peek until the time is up—trust me, I know it’s tempting, but resist!
Step 4: The Big Reveal
Once the timer beeps, carefully lift up the heat press and peel away the sublimation paper. Drum roll, please—your vibrant, perfectly transferred sublimation design should now be sitting beautifully on your shirt!
Since sublimation bonds with the fibers of the fabric, this design isn’t going anywhere. No peeling, no cracking, and no fading after washes. This is next-level sublimation printing!
Step 5: Flaunt It
Congratulations, you’ve successfully sublimated a design onto a shirt! Whether you plan to sell it, gift it, or wear it yourself, your custom sublimation shirt is ready to shine. Sublimation designs are long-lasting and professional-looking—perfect for showing off.
Bonus Tips for Sublimation Success
-
Stick to Light Colors: Sublimation printing doesn’t work well on dark fabrics. Your best bet is white or light-colored shirts for vibrant designs.
-
Pre-Press Your Shirt: Before you place the design, give your shirt a quick pre-press to remove any moisture and wrinkles. This ensures the design transfers smoothly.
-
Test Different Placements: Don’t just stick to the center of the shirt. Get creative with sleeve designs, pocket prints, or even the back! You’re the designer—own it!


